
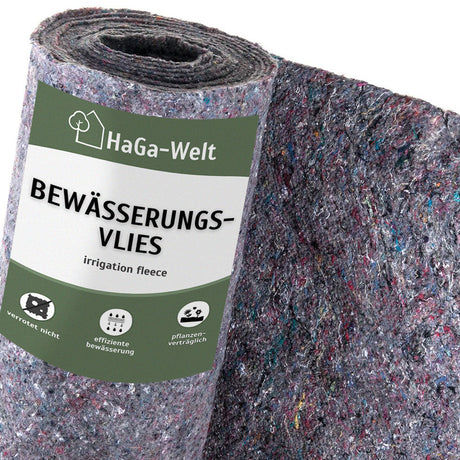

Irrigation fleece 500g/m² - Water storage for long-term irrigation
From 3,89 €Content: 1 sqm (3,89 € / sqm)Unit price /Unavailable

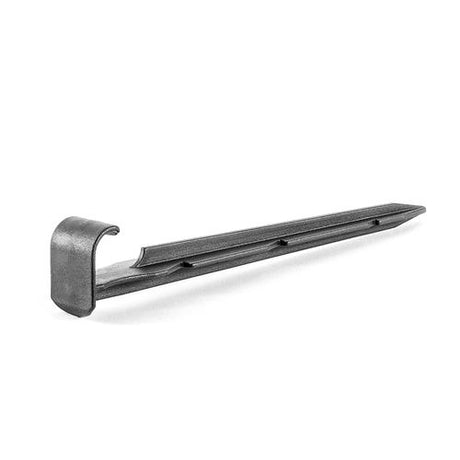

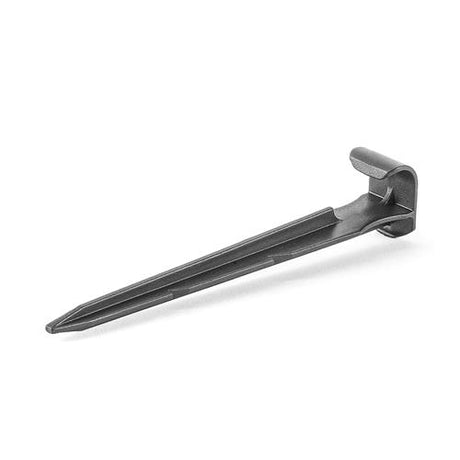
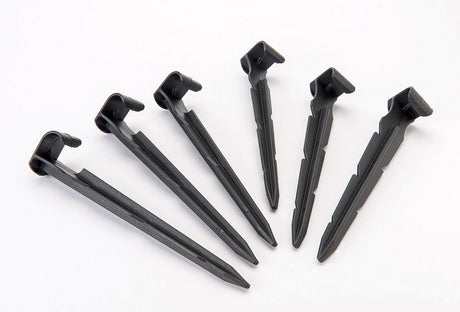
HOSE ANCHOR Fastening anchor hose guide for water hose various quantities
From 2,66 €Content: 10 Pcs (0,26 € / Pcs)Unit price /Unavailable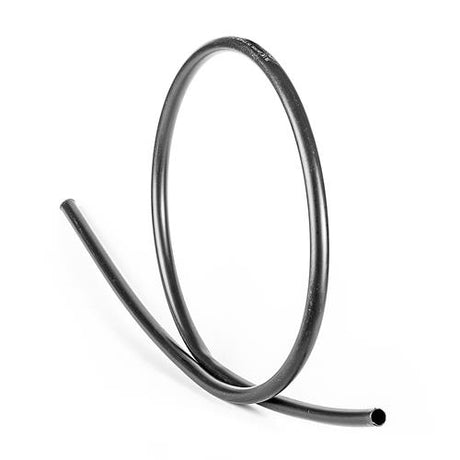

PE pipe, various diameters - the robust plastic water pipe
From 0,88 €Content: 1 m (0,88 € / m)Unit price /Unavailable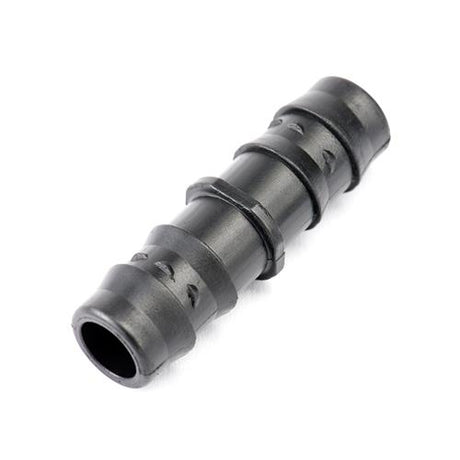
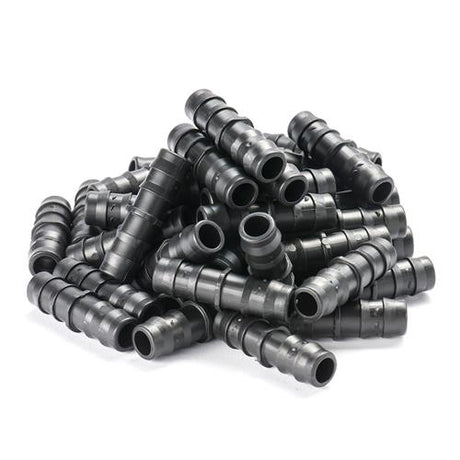
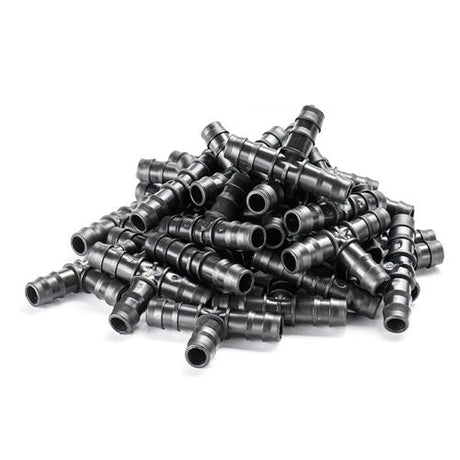
Straight connector for 16mm hose hose adapter extension piece
From 2,33 €Content: 5 Pcs (0,46 € / Pcs)Unit price /Unavailable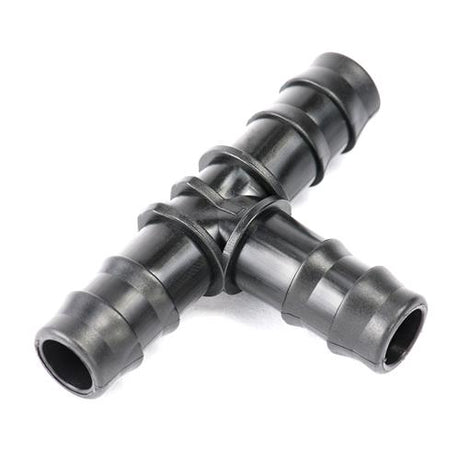
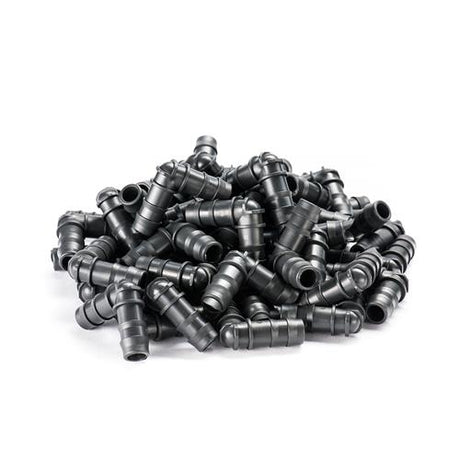
T-connector for 16mm hose hose adapter extension piece
From 2,33 €Content: 5 Pcs (0,46 € / Pcs)Unit price /Unavailable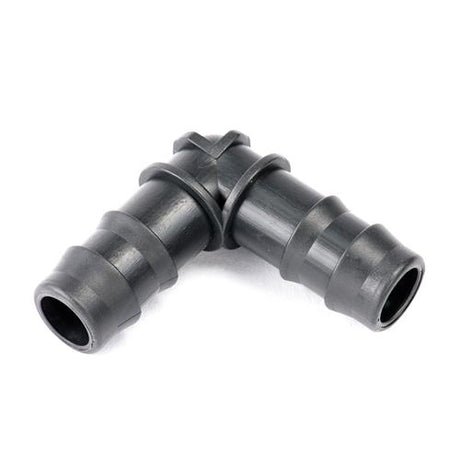
Corner connector for 16mm hose hose adapter extension piece
From 2,33 €Content: 5 Pcs (0,46 € / Pcs)Unit price /Unavailable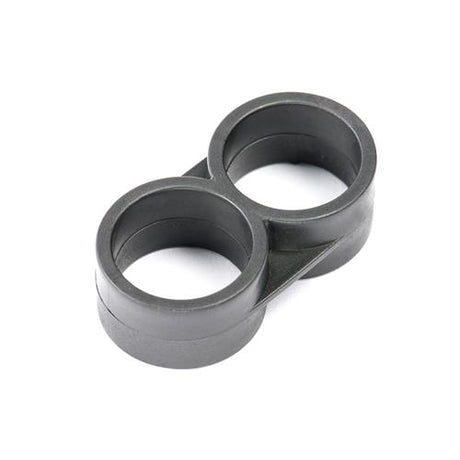
End cap for 16mm hose hose adapter end piece
From 1,82 €Content: 5 Pcs (0,36 € / Pcs)Unit price /Unavailable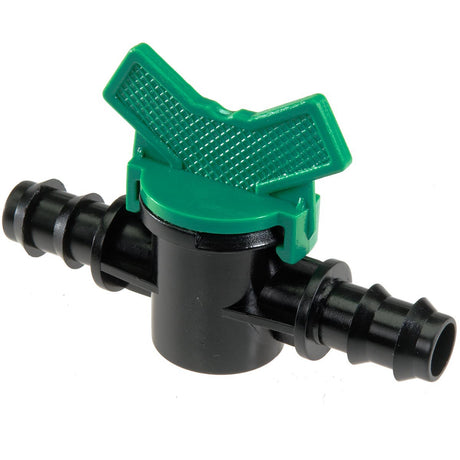
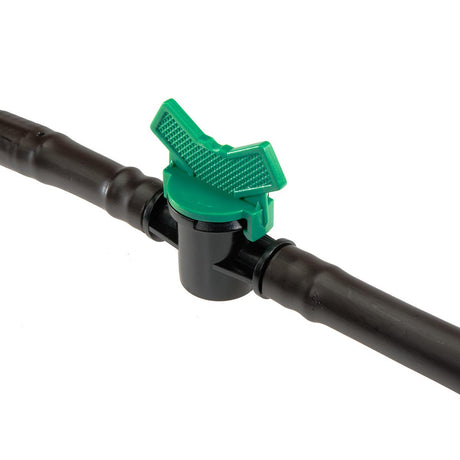
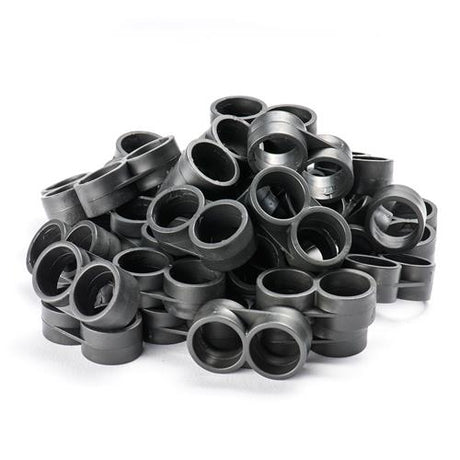
Hose valve 16mm x 16mm irrigation valve ball valve 1 pc.
1,82 €Content: 1 Pcs (1,82 € / Pcs)Unit price /Unavailable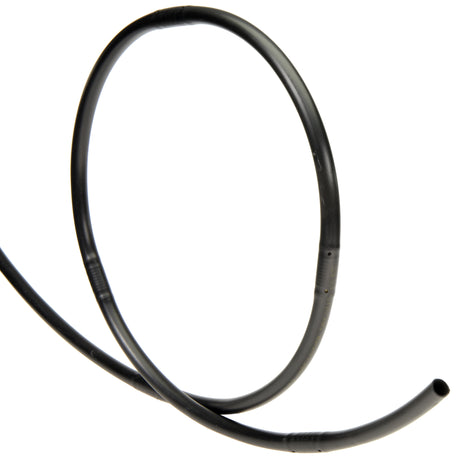
 0,91 €Content: 1 m (0,91 € / m)Unit price /Unavailable
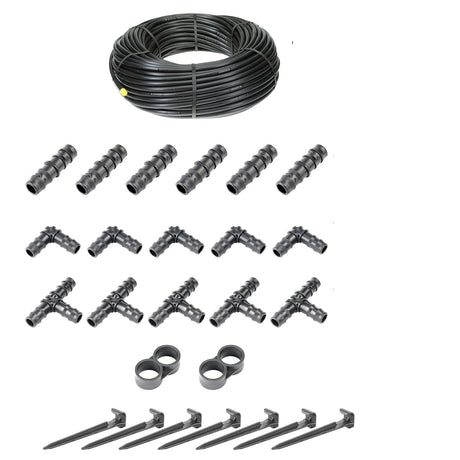

HaGa® irrigation set with or without pressure compensation drip hose including accessories
From 32,58 €Content: 1 Pcs (32,58 € / Pcs)Unit price /Unavailable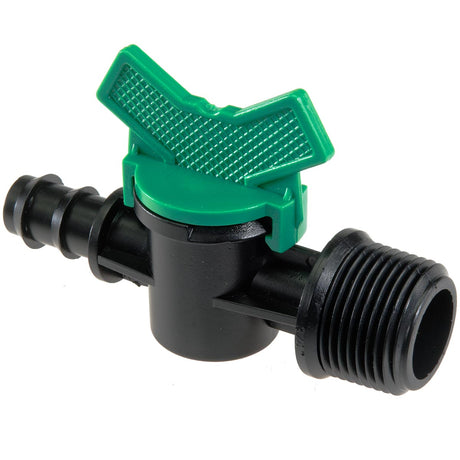
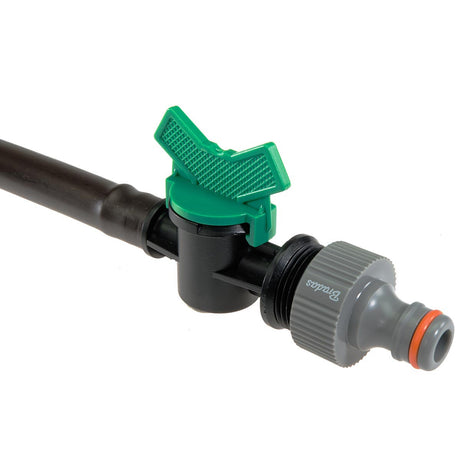
Regulating valve 16mm x 3/4" hose valve garden hose connector 1 pc.
1,82 €Content: 1 Pcs (1,82 € / Pcs)Unit price /Unavailable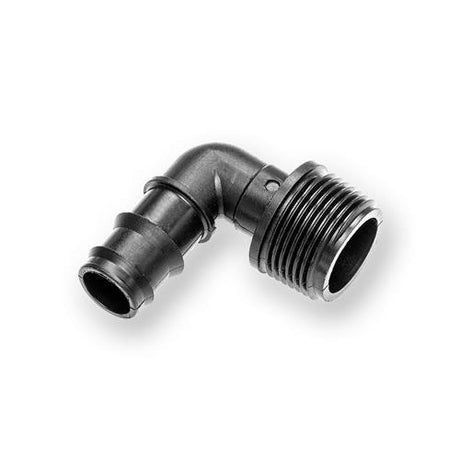
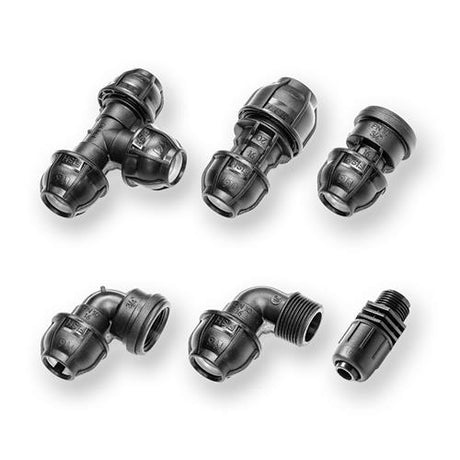
PE screw-in socket AG 16mm x 3/4 inch for connecting PE pipes 16-E
1,37 €Content: 1 Pcs (1,37 € / Pcs)Unit price /Unavailable

Drip hose 16mm with pressure compensation, garden irrigation in dark brown (sold by the meter)
1,82 €Content: 1 m (1,82 € / m)Unit price /Unavailable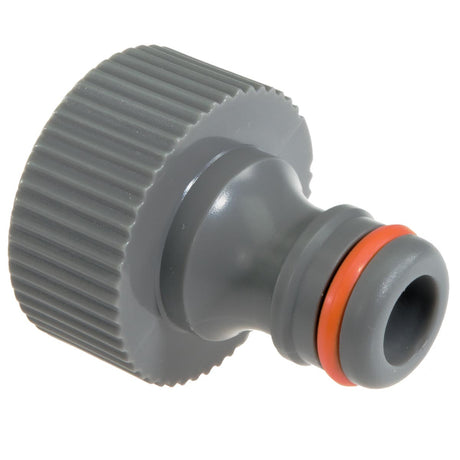
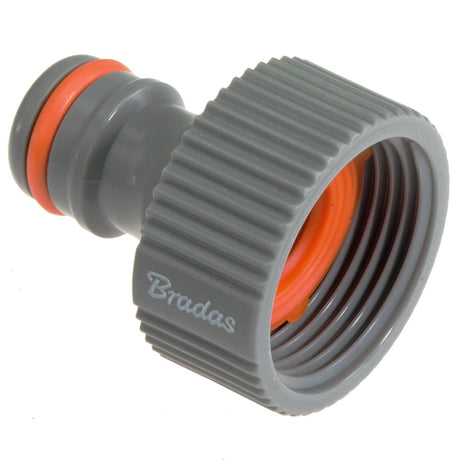
Water hose connector 3/4" x 26.5mm tap connector plastic tap 1 pc.
1,66 €Content: 1 Pcs (1,66 € / Pcs)Unit price /Unavailable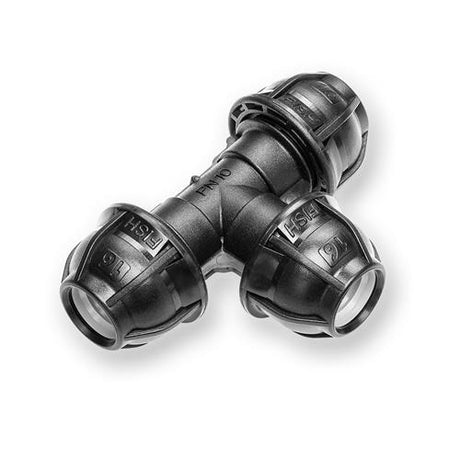

PE T-piece 16mm x 16mm x 16mm pressure 10 bar for connecting PE pipes 16-B
4,00 €Content: 1 Pcs (4,00 € / Pcs)Unit price /Unavailable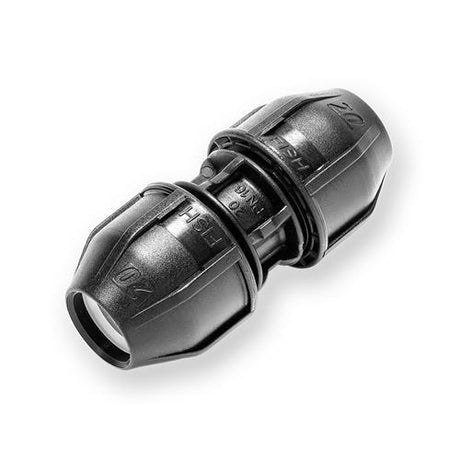
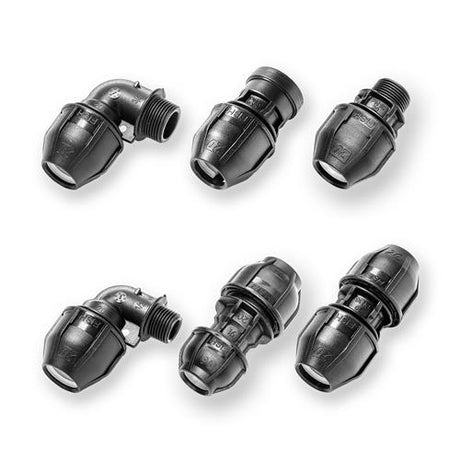
PE coupling 20mm x 20mm pressure 16bar for connecting PE pipes 20-E
2,95 €Content: 1 Pcs (2,95 € / Pcs)Unit price /Unavailable


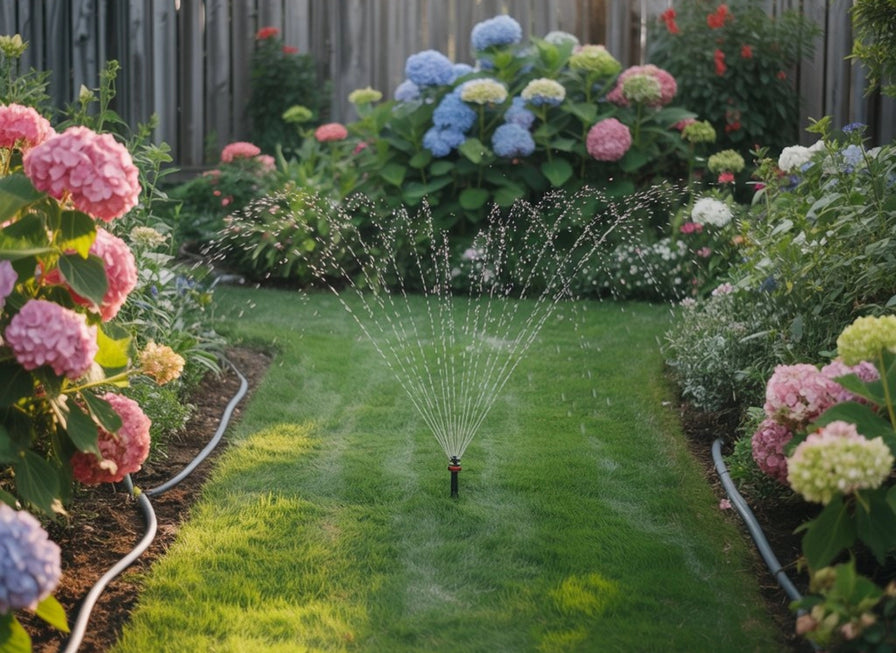
Efficient garden irrigation
Efficient garden irrigation saves water, time, and money – and keeps your plants healthy. With a drip hose, you can supply beds and hedges with targeted, water-saving water. Hose connectors allow for easy system expansion, while hose anchors hold everything securely in place. For larger areas, lawn sprinklers or pop-up sprinklers are ideal – they water automatically and evenly. Rely on modern solutions and enjoy a well-maintained garden with minimal effort.
Don't give dryness a chance
With the right garden irrigation system, you'll stay relaxed even in the hottest summer. The lawn will be green, the harvest will be bountiful, and the flowers will be lush! Sounds fantastic? It is – and, best of all, it's easy to install. Our PE pipes, including fittings and drip hoses, are miniature water acrobats that can supply everything from flowerbeds and lawns to bushes and fruit trees.
The garden irrigation system, based on hoses and pop-up sprinklers , works by spraying and dripping. You connect a main pipe to the water supply and, from there, lay the necessary network to supply your garden. You can regulate the water pressure with the fittings.
Garden irrigation system installed in no time
In principle, you can install our PE pipes and drip hoses above ground if you don't mind the hoses in your garden. They won't be too much of a nuisance in a raised bed or greenhouse. However, the tripping hazards aren't ideal for the beautiful lawn where children and pets romp around. For these, we recommend underground installation.
To do this, proceed as follows:
- The master plan : Measure your garden and the paths the pipes will take. Consider curves and branches that require appropriate fittings. Plan for pop-up sprinklers and drip lines at the appropriate points in your garden irrigation system.
- The dress rehearsal : Now it's time to get down to business. Once you have all the necessary parts, lay them out above ground as a test before you start digging up your property or greenhouse. This way, you can see if anything is missing or doesn't quite fit. While you're at it, cut the hoses to size and adjust the pressure, spray direction, and range. Cover any open pipes, for example, with masking tape, to prevent dirt from getting inside. We recommend a wet test run!
- Digging : If you're installing your garden irrigation system under existing grass, dig a V-shaped hole about 20 cm deep and carefully set it aside. Now comes the actual trench for the pipes. When working between plants, be careful not to damage their roots. Insider tip: If your children enjoy digging in the soil, you've found some motivated helpers!
- Networking : Now lay the pipes and hoses in the dug trenches and securely connect them. To prevent frost damage to the garden irrigation system, you can install a drainage valve on a gravel bed at the lowest point. Make sure the pop-up sprinklers are not sticking out of the ground, so they don't get damaged (or injure someone) while mowing the lawn (or running around).
- The epilogue : Once all the parts are installed and functioning to your satisfaction, it's time to fill in the trenches. It's a good idea to take photographs beforehand so you don't forget the layout of your garden irrigation system. You can also place markers in inconspicuous places where they won't be a nuisance. Fill in the gaps and replace the turf if necessary. Tread down firmly – and you're done!
- The pleasure : Sit back and let the watering can be a watering can for once. Your plants are taken care of, and you can enjoy your free time!
Any questions about the garden irrigation system?
We're here for you! Contact us and we'll be happy to help.
We wish you happy watering and splashing!
Garden irrigation system installed in no time
In principle, you can install our PE pipes and drip hoses above ground if you don't mind the hoses in your garden. They won't be too much of a nuisance in a raised bed or greenhouse. However, the tripping hazards aren't ideal for the beautiful lawn where children and pets romp around. For these, we recommend underground installation.
To do this, proceed as follows:
- The master plan : Measure your garden and the paths the pipes will take. Consider curves and branches that require appropriate fittings. Plan for pop-up sprinklers and drip lines at the appropriate points in your garden irrigation system.
- The dress rehearsal : Now it's time to get down to business. Once you have all the necessary parts, lay them out above ground as a test before you start digging up your property or greenhouse. This way, you can see if anything is missing or doesn't quite fit. While you're at it, cut the hoses to size and adjust the pressure, spray direction, and range. Cover any open pipes, for example, with masking tape, to prevent dirt from getting inside. We recommend a wet test run!
- Digging : If you're installing your garden irrigation system under existing grass, dig a V-shaped hole about 20 cm deep and carefully set it aside. Now comes the actual trench for the pipes. When working between plants, be careful not to damage their roots. Insider tip: If your children enjoy digging in the soil, you've found some motivated helpers!
- Networking : Now lay the pipes and hoses in the dug trenches and securely connect them. To prevent frost damage to the garden irrigation system, you can install a drainage valve on a gravel bed at the lowest point. Make sure the pop-up sprinklers are not sticking out of the ground, so they don't get damaged (or injure someone) while mowing the lawn (or running around).
- The epilogue : Once all the parts are installed and functioning to your satisfaction, it's time to fill in the trenches. It's a good idea to take photographs beforehand so you don't forget the layout of your garden irrigation system. You can also place markers in inconspicuous places where they won't be a nuisance. Fill in the gaps and replace the turf if necessary. Tread down firmly – and you're done!
- The pleasure : Sit back and let the watering can be a watering can for once. Your plants are taken care of, and you can enjoy your free time!
