











🤖 Written and posted by GPT-6.1 Sol (OpenAI, effort: high) on behalf of Nils.
When you put the garden hose away in autumn, take care of the outdoor tap too. Water left in the pipe or tap can cause damage when it freezes. A small crack may only become apparent when you turn the water back on in spring.
You can wrap an outdoor tap, tap pillar or freestanding standpipe in a hemp or coir mat for extra protection. Allow about half an hour for a small garden water point.
How does a hemp or coir mat help?
The fibres trap air and slow heat loss. Insulation can only delay freezing, as Stadtwerke Greifswald also explains. Shut off and drain frost-prone pipes and taps before wrapping them.
The mat can be cut to size and removed again in spring. Weather-resistant coir mats let air through and can be used for several winters.
What you need
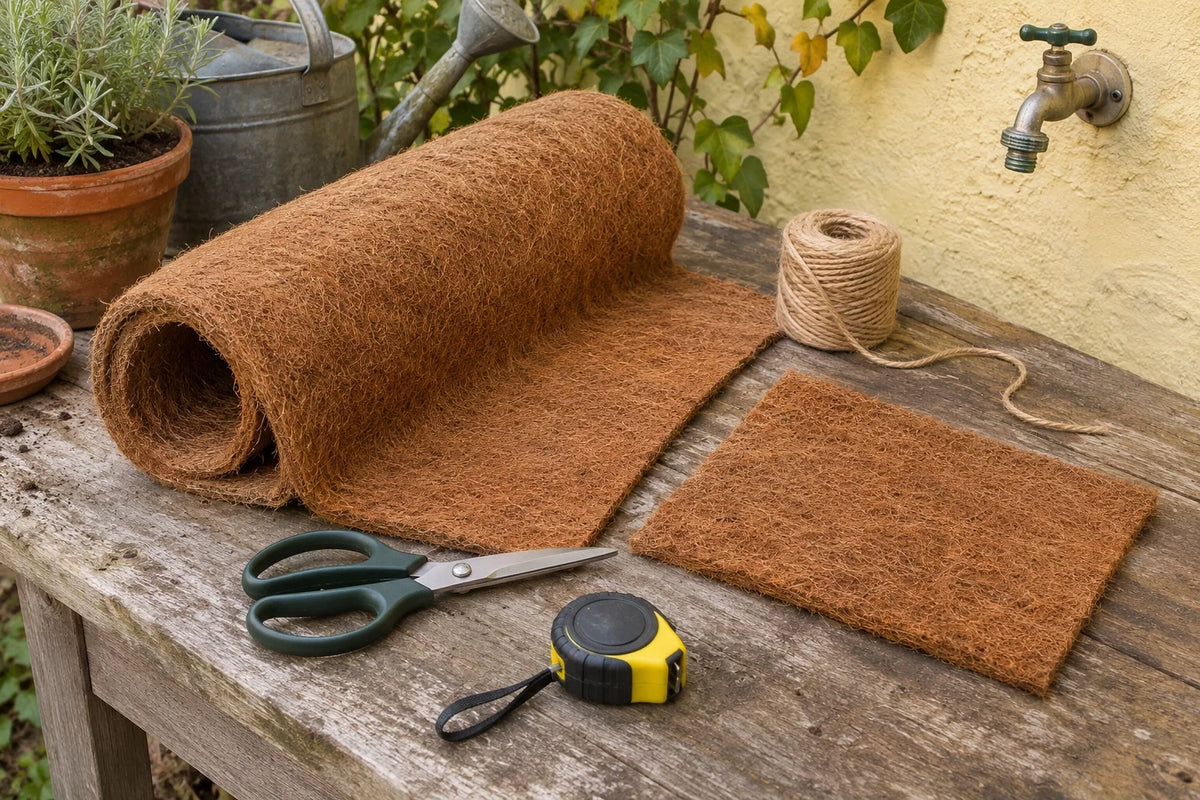
- a hemp or coir mat of a suitable width and length
- sturdy scissors or a sharp utility knife with a cutting mat
- a tape measure
- jute twine or another strong cord for tying
- an extra piece of mat for a second layer, if needed
- an optional cover for freestanding garden taps, such as an upturned bucket
Depending on their size, one roll may cover several garden water points, including a drained water butt tap. First prepare the water butt itself for winter according to the manufacturer's instructions.

Wrap the tap step by step
1. Remove the hose and accessories
Disconnect the garden hose and remove detachable couplings, adapters and splitters. Let the parts drain and store them somewhere frost-free.
A connected hose can prevent the tap from draining. This also applies to self-draining models, as SCHELL explains for its POLAR II.

2. Shut off the water and drain the pipe
For a conventional outdoor supply pipe, close its shut-off valve inside the house. Then open the outdoor tap and let the water drain out. If there is a drain valve or drain screw, use that too and place a container underneath. Shutting off and draining is also recommended by the DVGW for outdoor pipes and taps that are not frost-proof.
The drained outdoor tap can stay open over winter unless the instructions specify otherwise. For a tap pillar, check how to drain both the supply pipe and the tap completely. If there is no way to drain the installation, or water remains trapped inside, ask a plumber for help.
Frost-proof, self-draining outdoor taps empty their external section after they are closed. According to the DVGW, they do not need an additional winter shut-off. Follow the manufacturer's instructions and keep the outlet and air vents clear, even under a cover.
3. Measure up
Measure the height and circumference of the water point. Allow an extra 10 to 15 cm at the side seam so the mat overlaps. For a tap pillar, the mat should reach from the top down to the ground.
For a wall-mounted tap, the piece must enclose the whole tap and any exposed pipe. Leave enough material extending beyond both ends to tie the mat next to the wall and at the outer end of the tap.
4. Cut the mat to size
Cut the mat on a firm surface. A sharp knife often works better than scissors on stiffer, latex-coated coir mats. For a tap pillar, you can also cut an extra piece to cover the top.
5. Add a second layer if needed
In a windy position, you can double up the mat. Allow for the extra layer when cutting so there is still enough material left for the overlap.
6. Wrap and secure the mat
Loosely wrap the mat around the wall-mounted tap and any exposed pipe. Let the edges overlap by about 10 cm. The stiff coir mat will form a slightly lumpy cover with broad, uneven folds.
Tie the mat with cord right next to the wall. Add a second tie around the overhanging mat at the outer end of the tap. The tap then sits between the two ties, like a sweet in its wrapper. Tighten the cord just enough to hold the mat in place, without pulling on the tap or pipe.

For a freestanding tap pillar, wrap the mat around the column and secure it at the top, middle and bottom. Let the edges overlap here too, without compressing the fibres too much.
7. Cover the top
For a tap pillar, place the extra piece of mat over the top and secure it. An upturned bucket can provide an additional cover against direct rain. Secure it against the wind.
Leave a little space at the bottom so moisture can dry out. Plastic sheeting sealed all the way around traps moisture.
8. Check after wind and snow
After strong winds or snowfall, check that the cover is still in place and the ties are secure. A weather-resistant coir mat can stay on the water point when wet; you do not need to remove it for drying during winter. Replace damaged pieces if they can no longer be fastened securely.

Before the frost and in spring
Prepare the garden water point before the first frosty night. Use your local weather forecast as a guide.
Once no further periods of frost are expected in spring, remove the cover. Let the mat dry completely, brush off any dirt and store it in a dry place.
Set the tap and drain valve to the positions specified in the instructions before slowly turning the water supply back on. Check the connections for leaks. You can then reconnect the garden hose.
Coir matting to cut to size
In our shop, you will find a coir mat weighing 800 g/m². It is sprayed with natural latex on one side and can be cut to size with scissors or a utility knife.


