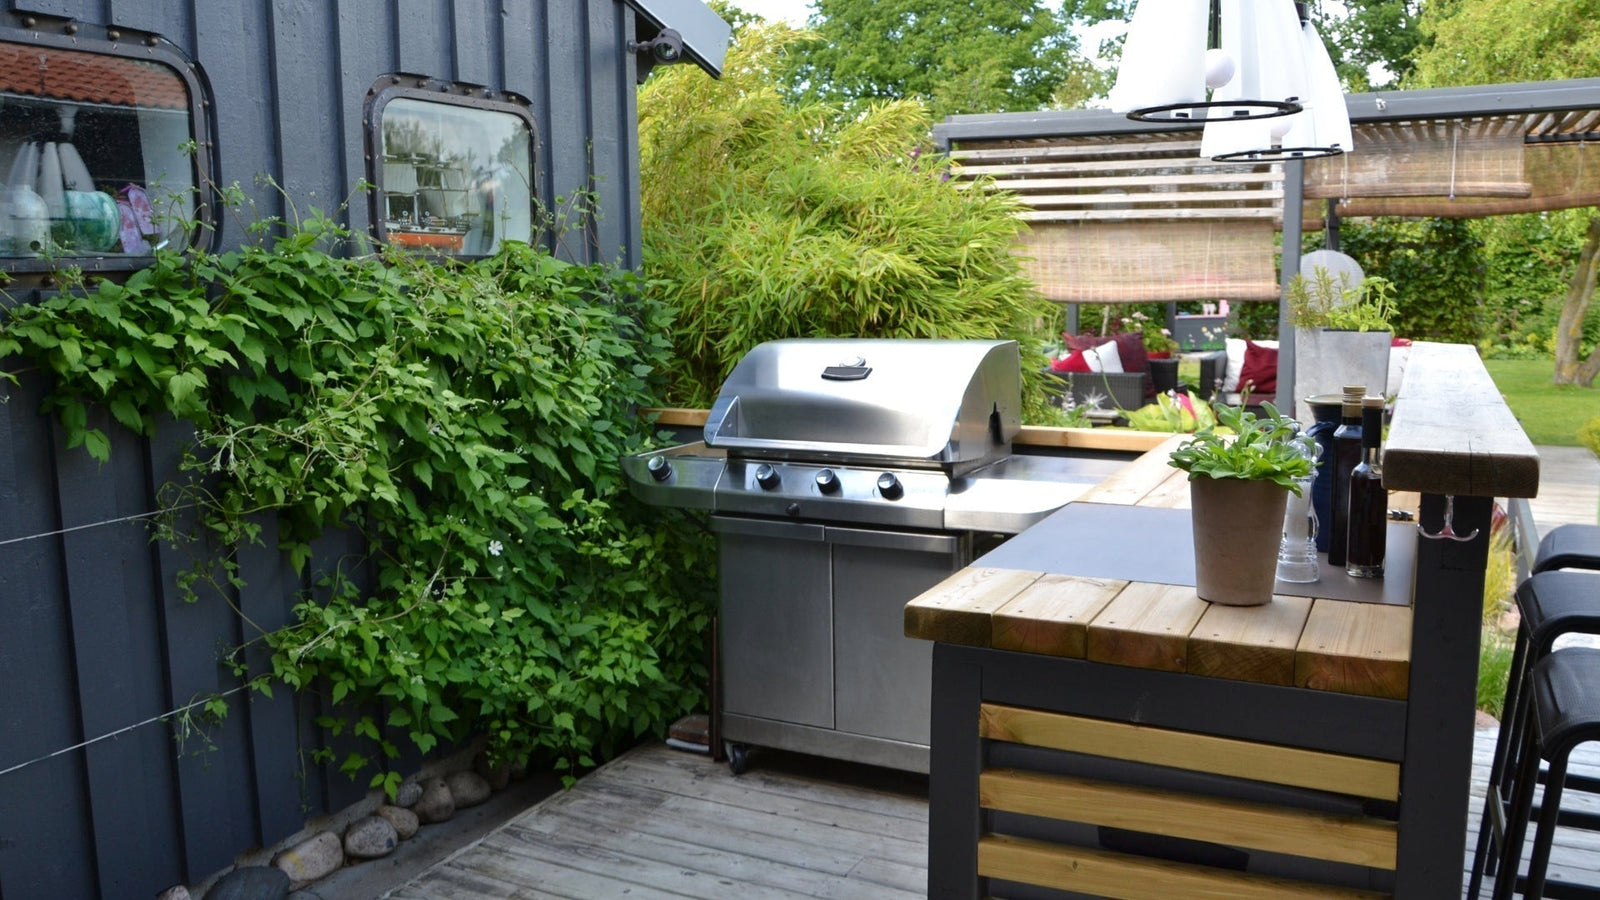
An outdoor kitchen epitomizes the summer lifestyle. Whether it's barbecues with friends, cooking together in the garden, or simply enjoying the outdoors – with a well-planned outdoor kitchen, you can expand your living space into the green. In this article, you'll learn everything you need to know about the construction , materials , and planning of an outdoor kitchen – including practical instructions .
What requirements must the outdoor kitchen meet?
An outdoor kitchen has to perform much better than its indoor counterpart. It's exposed to wind, rain, sun, and temperature fluctuations, so the materials and construction should be robust enough to withstand these conditions. Functionality also plays a key role: You want to cook efficiently and conveniently without constantly having to commute between your home and your garden.
What should the outdoor kitchen have?
Depending on the intended use and budget, your outdoor kitchen can be equipped very differently. A basic setup should include at least:
- Work surface for food preparation
- Grill or hob , ideally gas or charcoal
- Shelves and storage space for dishes, cutlery and cooking utensils
- Sink with water connection (optional, but practical)
- Weather protection such as roofing or awning
For ambitious outdoor cooks, a pizza oven, refrigerator or even a smoker are also conceivable.
The right materials for your outdoor kitchen
The choice of materials determines the longevity , maintenance requirements , and style of your outdoor kitchen. Particularly successful are:
Outdoor kitchen wood
Outdoor kitchens made of wood offer a warm, natural look and are relatively easy to work with. It's important to use weather-resistant woods such as larch, Douglas fir, or Bangkirai and to maintain them regularly (e.g., with oil). Ideal for rustic or Mediterranean garden styles. How to build your outdoor kitchen made of wood
Outdoor kitchen stone
Outdoor kitchens made of stone or concrete offer maximum resistance to weathering and a particularly high-quality appearance. Granite or concrete countertops are virtually indestructible and easy to maintain. However, building with stone requires a certain level of craftsmanship or professional assistance. Discover the instructions for building an outdoor kitchen.
Outdoor kitchen made from pallets
Pallets are a popular and cost-effective option for building a DIY outdoor kitchen . They offer a rustic look and are easy to customize. Make sure you choose heat-resistant surfaces and appropriate waterproofing.
Planning an outdoor kitchen
Careful planning is the foundation for a functional and visually appealing outdoor kitchen. Take the time to analyze your needs and the specific conditions on site.
Make a sketch
Before you begin, you should make a simple sketch of your kitchen. Mark the positions for the grill, work surfaces, water connection, and storage areas. Also consider the sun orientation, existing electrical connections, and protection from rain. A rough drawing will help you realistically estimate the dimensions and purchase building materials more effectively.

Outdoor kitchen made from pallets construction instructions
An outdoor kitchen made from pallets is a fantastic way to create a unique, functional, and stylish outdoor cooking station on a small budget and with a little craftsmanship. It offers maximum design freedom and can be perfectly adapted to your needs. It's also particularly sustainable, as it's made from recycled materials. However, if you want to enjoy it for a long time, you should pay attention to careful craftsmanship, weather protection, and regular maintenance.
Materials required:
- 4–6 Euro pallets (depending on the desired size)
- Sander or sandpaper (60–120 grit)
- Wood preservative or weatherproof oil
- Cordless screwdriver, screws (stainless steel), nails, metal brackets
- Tape measure, spirit level, pencil
- Worktop (e.g. weatherproof plywood, stone slab or stainless steel)
- Furniture casters (optional, for mobility)
- Optional: Washing bowl, water canister, hooks, shelves, LED lighting
Step-by-step instructions:
1. Prepare pallets
- Check the pallets for nails, splinters or damage.
- Sand all surfaces thoroughly – first with coarse sandpaper, then with fine sandpaper.
- Then apply a weatherproof wood preservative (e.g., wood oil or varnish). Allow the pallets to dry thoroughly.
2. Create basic construction
- Place two pallets vertically next to each other and connect them with sturdy wooden cross braces. This creates the basic framework for the front.
- Another pallet serves as the back wall: This is also screwed in to gain stability and create a back.
- You can also add another pallet or boards as an intermediate floor to integrate shelves there.
3. Install the worktop
- Cut your chosen work surface to fit perfectly.
- Make sure it is heat-resistant and weatherproof (especially important when grilling).
- Attach the worktop to the pallet frame from above using screws – use a spirit level to check that everything is straight.

4. Design the back wall (optional)
- Use an upright pallet as a back wall.
- Screw hook rails, shelves or kitchen utensils directly onto it.
- An LED light chain or solar lamp can also be installed there – for atmospheric evenings.
5. Install storage space
- Use old wooden crates, plastic boxes or screwed shelves inside the pallet construction to store dishes, coal or spices.
- Alternatively, drawer units from the hardware store can also be integrated.
6. Water solution (optional)
- If you want to install a sink, you can integrate a metal bowl with a drain.
- A simple water canister with a tap works as a mobile solution, as does a garden hose connection.
- Wastewater can be collected in a bucket under the sink.

7. Finishing touches & protection
- Install rubber feet or casters to prevent the kitchen from sitting on the grass or to allow for flexible movement.
- In bad weather, cover the kitchen with a tarpaulin or place it under a roof.
- For a harmonious overall look, you can paint the pallets in your desired color.
Download the outdoor kitchen made from pallets construction instructions as a PDF now.

Conclusion: Outdoor kitchen – cooking in the open air
An outdoor kitchen combines functionality with joie de vivre and turns your garden into a true oasis of well-being. Whether simply built with pallets or elaborately constructed with stone and stainless steel – with the right planning, it will become the centerpiece of your summer evenings. It allows for communal cooking outdoors , saves you the hassle of coming into the house, and ensures a special culinary experience. Pay attention to weatherproof materials, well-thought-out equipment, and a suitable location – then you can enjoy your outdoor kitchen for many years to come. Oilcloth tablecloths add great accents to your table decorations on the patio or in the garden. They are robust, durable, easy to clean, and weather-resistant.
Outdoor Kitchen: Frequently Asked Questions
What can I use to build an outdoor kitchen?
You can build your outdoor kitchen from a variety of materials—whether wood, stone, stainless steel, or pallets. It's important that all components used are weatherproof, heat-resistant, and easy to maintain.
What is a prefabricated outdoor kitchen?
Prefabricated outdoor kitchens are modular systems, often made of stainless steel, that include various modules such as a grill, sink, or refrigerator. They are particularly durable and ready to use, but they are also significantly more expensive than DIY models.
Which material is best for an outdoor kitchen?
The best material depends on your style, budget, and craftsmanship. Stone and stainless steel are very durable, wood adds naturalness and charm, while pallets offer a creative and affordable solution.
What to do with the outdoor kitchen in winter?
If your kitchen doesn't have permanent weather protection, you should cover it during the winter or, if possible, partially dismantle it and store it in a protected area. Sensitive appliances such as grills, water connections, and refrigerators should be stored in a frost-free place over the winter.